Simplifying Metal Roof Installation – A Step-by-Step Guide by Blitz Roofing & Construction
In this comprehensive guide, we’re going to demystify the world of metal roofing for you. Whether you’re a homeowner considering a roof upgrade or a fellow contractor looking to expand your expertise, this article is your go-to resource. We’ll walk you through the nuts and bolts of metal roof installation – breaking it down into manageable, easy-to-understand steps. Plus, we’ll share our insider knowledge on effective maintenance to ensure your metal roof remains as resilient and stunning as the day it was installed. Get ready to dive into the world of metal roofing with Blitz Roofing & Construction, where quality meets craftsmanship.
Installing a metal roof might seem daunting, but with the right guidance, it can be a smooth and efficient process. At Blitz Roofing & Construction, we adhere to the highest industry standards, ensuring each metal roof installation is done with precision and care.
Here’s our expert guide to installing a metal roof, where we break down the process into clear, manageable steps.

Step 1: Preparing the Roof Deck
Overview
The first and perhaps most crucial step in metal roofing installation is preparing the roof deck. This foundation stage sets the tone for the entire installation process, ensuring a secure and long-lasting roof. At Blitz Roofing & Construction, we emphasize the importance of meticulous preparation to prevent future complications.
Clearing the Deck
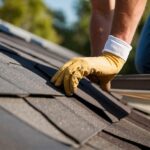
- Initial Inspection: Begin by thoroughly inspecting the roof deck. Look for signs of damage, rot, or structural weakness. It’s vital to address these issues before proceeding.
- Removing Old Material: Carefully remove any old roofing materials. This includes shingles, nails, and underlayment. A clean deck ensures a smoother installation process.
- Debris and Cleaning: Clear all debris from the roof. Use a broom or blower to ensure the surface is completely clean and free of any small particles or dust.
Repair and Reinforcement
- Repair Work: Address any necessary repairs. This could involve replacing damaged wood or reinforcing areas to handle the weight and structure of the new metal roof.
- Ensuring Flatness: Check for any uneven areas. A flat and even surface is critical for the proper laying of underlayment and metal panels.
- Weather Considerations: In regions prone to specific weather conditions, consider additional protective measures. For instance, in areas with high moisture, using a moisture barrier can be beneficial.
Safety First
- Safety Measures: Always prioritize safety. Use proper safety equipment like non-slip shoes, gloves, and safety harnesses. The roof deck can be slippery, especially after old material removal.
- Professional Assessment: If there are any doubts about the integrity of the roof deck, it’s wise to consult a structural engineer. At Blitz Roofing & Construction, we never compromise on safety and always adhere to building codes and regulations.
With our extensive experience in roofing, Blitz Roofing & Construction understands that a well-prepared roof deck is the cornerstone of a successful metal roof installation. Our team is trained to handle this critical step with the utmost precision, ensuring that the foundation of your metal roof is as robust and reliable as the material itself.

Step 2: Installing Underlayment
The Role of Underlayment in Metal Roofing
Underlayment plays a pivotal role in metal roofing, acting as a secondary barrier against moisture and weather elements. At Blitz Roofing & Construction, we stress the importance of a correctly installed underlayment for ensuring the longevity and effectiveness of your metal roof.
Choosing the Right Underlayment
- Opt for high-quality synthetic underlayment for its superior durability and moisture resistance. This is particularly crucial in areas with extreme weather conditions.
- Our experience has shown that synthetic underlayment provides better protection and longevity compared to traditional felt paper.
Installation Process
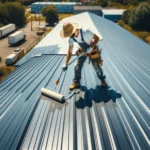
- Initial Layout: Roll out the underlayment horizontally across the roof deck, starting from the bottom edge. Ensure that it lies flat and smooth against the deck.
- Overlap for Protection: Overlap each successive layer by a minimum of 6 inches. This overlap is critical for creating a continuous, water-tight layer beneath the metal panels.
- Securing the Underlayment: Use cap nails or staples to secure the underlayment to the roof deck. Ensure they are spaced appropriately for a firm hold that prevents ripping or tearing.
Special Attention to Detail
- Sealing Seams: Apply a roof sealant along the seams of the underlayment for added moisture protection, especially in areas prone to high rainfall or snow.
- Trimming and Fitting: Cut and fit the underlayment around vents, chimneys, and other roof protrusions, ensuring a snug fit that doesn’t compromise the barrier against moisture.
Safety and Precision
- Safety Precautions: As always, prioritize safety. The underlayment can be slippery, so use appropriate safety gear and be mindful of your footing.
- Professional Touch: A correctly installed underlayment requires precision. At Blitz Roofing & Construction, our skilled team ensures that every inch of underlayment is laid with attention to detail, safeguarding your home against the elements.
Our expertise in roofing installations has taught us that underlayment is more than just a layer; it’s the unsung hero of a roofing system. By using industry-best materials and techniques, we guarantee an underlayment installation that maximizes the performance and lifespan of your metal roof.
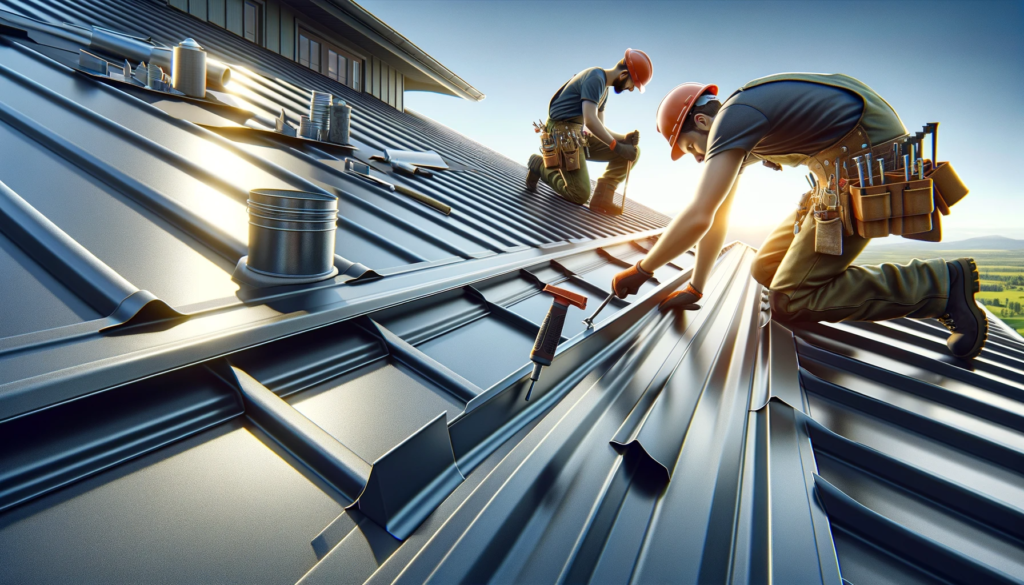
Step 3: Laying the Metal Panels
The Heart of Metal Roofing: Panel Installation
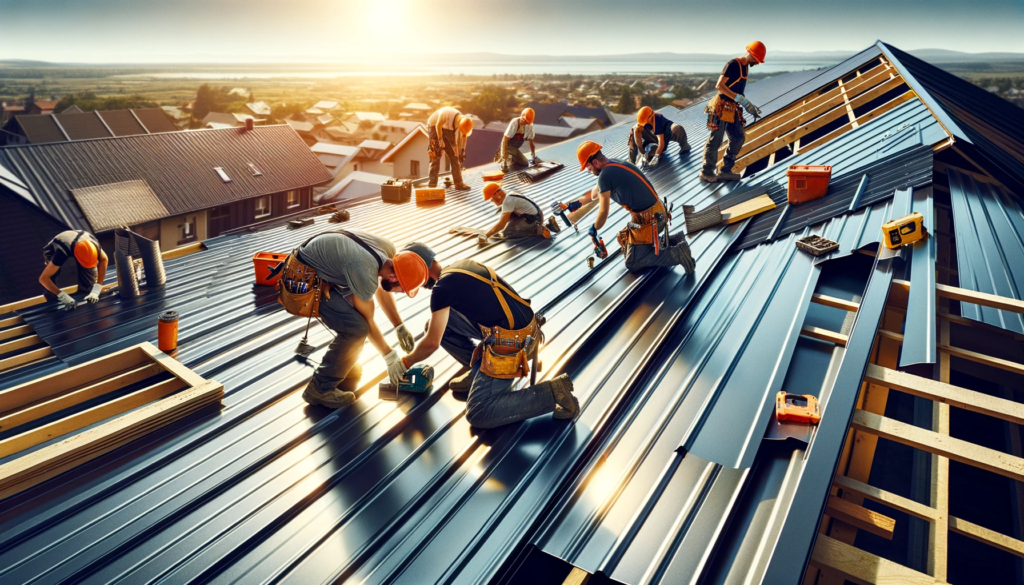
Laying the metal panels is a crucial step in the roofing process where precision and attention to detail are paramount. At Blitz Roofing & Construction, we approach this phase with a blend of technical skill and an eye for aesthetics to ensure both functionality and visual appeal.
Preparing for Panel Installation
- Alignment and Measurement: Start by measuring and marking the roof to ensure panels will be laid evenly. This initial step is crucial for a symmetrical and visually pleasing outcome.
Our years of experience underscore the importance of this precision; even a small misalignment can lead to larger issues down the line.
Laying the Panels
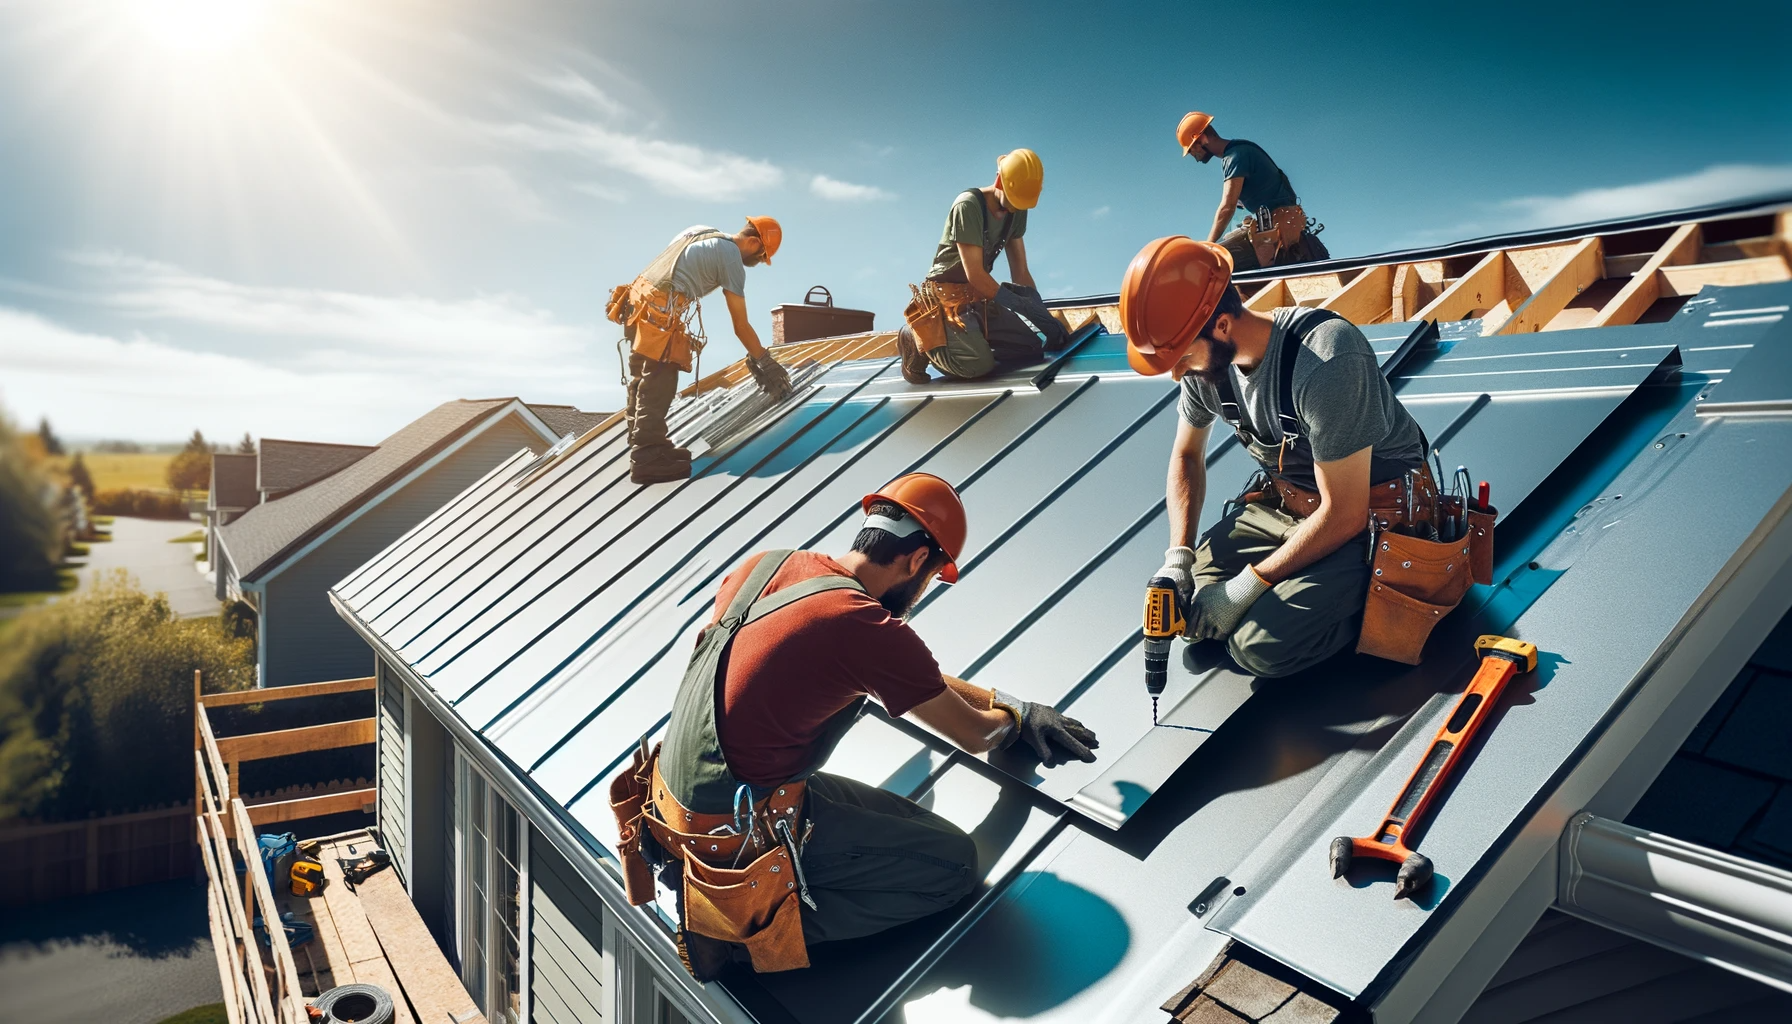
- Starting Point: Begin at the bottom corner of the roof. This allows for proper water runoff and a natural aesthetic flow.
- Panel Placement: Lay the first panel carefully, aligning it with the edge of the roof and your initial measurements. Secure it in place with the appropriate roofing screws.
- Overlapping Panels: Each subsequent panel should overlap the one before it by at least an inch. This overlap is crucial for waterproofing and ensuring a cohesive appearance.
Securing the Panels
- Screw Placement: Use screws with rubber washers for a watertight seal. Place the screws at pre-drilled intervals along the panel, ensuring each is driven straight and flush against the panel.
- Consistency is Key: Maintain consistent pressure and screw placement for each panel. This consistency not only affects the roof’s durability but also its overall appearance.
Precision and Aesthetics
- Trimming as Needed: Trim any overhanging panel edges with metal snips for a clean finish. This step requires a steady hand and an eye for detail.
- Visual Inspection: After all panels are laid, conduct a thorough visual inspection. Ensure that each panel is straight, properly overlapped, and securely fastened.
Safety and Professionalism
- Safety Measures: As with all roofing steps, use appropriate safety gear and remain vigilant about personal and structural safety.
- Professional Insight: The team at Blitz Roofing & Construction brings expertise and precision to every project, ensuring that the metal panels are laid with the highest level of professionalism and care.
The installation of metal panels is not just about laying sheets of metal; it’s an art that combines technical knowledge with an understanding of weather dynamics and architectural beauty. Our approach at Blitz Roofing & Construction is rooted in years of experience and a deep commitment to quality and customer satisfaction.
Step 4: Installing the Flashing & Trim
Essential Protection with Flashing
Flashing installation is a critical step in metal roofing, vital for ensuring the roof is watertight and protected from the elements. At Blitz Roofing & Construction, we approach flashing installation with meticulous care, recognizing its importance in the overall integrity and longevity of the roof.
Types of Flashing
- Identify Flashing Needs: Different areas of the roof require specific types of flashing. Common types include valley flashing, eave flashing, and flashing for roof penetrations like vents and chimneys.
- Material Selection: Choose flashing materials that are compatible with the metal roofing to prevent galvanic corrosion. Typically, galvanized steel or aluminum is used.
Installation Process
- Preparation: Before installing the flashing, ensure the area is clean and free of debris. Any old flashing should be removed and replaced.
- Securing Valley Flashing: For valleys, lay the valley flashing down the roof’s valleys to channel water away. Secure it with fasteners, keeping them outside the water flow area to prevent leaks.
- Eave and Rake Flashing: Install eave flashing along the roof’s edges to guide water into the gutters. Rake flashing should be installed along the gable ends to protect against wind-driven rain.
- Penetration Flashing: Around vents, chimneys, and other roof protrusions, carefully mold and secure the flashing to ensure a tight seal. Use high-quality sealant to prevent water ingress.
Precision and Attention to Detail
- Sealing: Apply a bead of roof sealant where the flashing meets the roofing material. This extra step ensures a watertight seal.
- Trimming and Fitting: Custom-fit and trim the flashing as needed to ensure it conforms perfectly to the roof’s contours and penetrations.
- Consistent Inspection: Continuously inspect your work to ensure that each section of flashing is correctly installed and sealed.
Safety and Professionalism
- Safety Measures: Use caution when handling and installing flashing, as the edges can be sharp. Always wear appropriate protective gear.
- Professional Insight: The team at Blitz Roofing & Construction is trained to handle the intricate details of flashing installation, ensuring each piece is installed with precision and care.
Proper flashing installation is a testament to a roofer’s skill and attention to detail. Our expertise in this area is backed by years of experience and a deep understanding of roofing systems. At Blitz Roofing & Construction, we pride ourselves on installing flashing that stands the test of time, safeguarding your home against water damage and the elements.
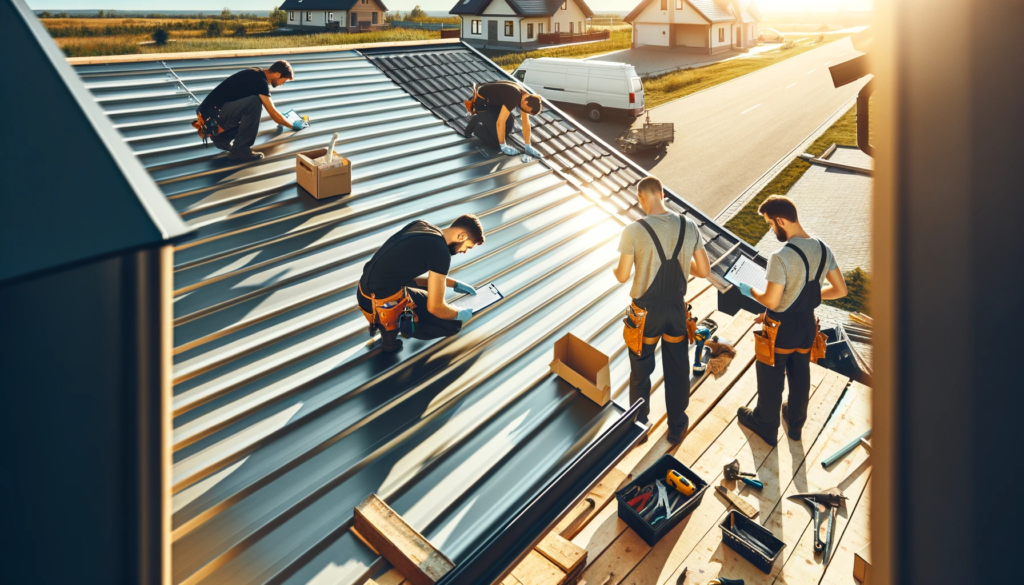
Step 5: Final Inspection and Clean-Up
The Final Check: Ensuring Perfection
The final inspection is a crucial phase in the metal roofing installation process. This step is where we at Blitz Roofing & Construction verify the precision of our work, ensuring every aspect of the installation meets our high standards. It’s not just about completing the job; it’s about affirming the quality and durability of the roof.
Conducting the Final Inspection
- Overall Review: Start with a general overview of the roof. Look for any irregularities in the alignment of panels and flashing.
- Detail Examination: Examine the seals around flashing, vents, and joins. Ensure every screw is properly placed and sealed, and that overlapping panels are correctly aligned for optimal water drainage.
- Gutter and Downspout Check: Ensure that gutters and downspouts are securely attached and free of debris. This is vital for proper water management.
Our extensive experience in roofing installations provides us with a keen eye for detail, ensuring no aspect is overlooked during this final inspection.
Clean-Up Process
- Debris Removal: Remove all installation-related debris from the roof and surrounding area. A clean worksite is a hallmark of professional service.
- Material Disposal: Responsibly dispose of or recycle any leftover materials. We believe in environmentally friendly practices in all our roofing projects.
- Final Walk-Through with Client: If possible, conduct a final walk-through with the client. This transparency builds trust and provides an opportunity to address any questions or concerns.
Safety and Site Integrity
- Safety Review: Ensure that all safety measures were followed and that the site is left safe and secure.
- Property Protection: Double-check that the property, especially landscaping and exterior, is left in the same condition as before the project began.
The final inspection and clean-up are not just procedural steps; they reflect the integrity and professionalism of Blitz Roofing & Construction. Our commitment to excellence extends beyond installation to ensuring a clean, safe, and respectful completion of the project. We take pride in leaving our clients with not just a new roof, but a testament to quality workmanship.
Embracing the Future with Metal Roofing – A Blitz Roofing & Construction Specialty
Did you know that in the last decade, the popularity of metal roofing installation has skyrocketed by over 30% in the residential sector alone? This surge reflects a growing recognition among homeowners and contractors alike of the unbeatable durability and versatility that metal roofing offers. No longer just a hallmark of commercial buildings, metal roofs are now a leading choice for homes across the nation, heralding a new era in roofing solutions.
At Blitz Roofing & Construction, we’ve been at the forefront of this roofing revolution. With over 20 years of dedicated service, our journey has been marked by a commitment to excellence and innovation in roofing. Specializing in both residential and commercial projects, our team brings a wealth of expertise and a passion for quality to every roof we craft. From historical renovations to cutting-edge new constructions, Blitz Roofing & Construction has become a trusted name, synonymous with reliability and the highest standards in metal roofing.
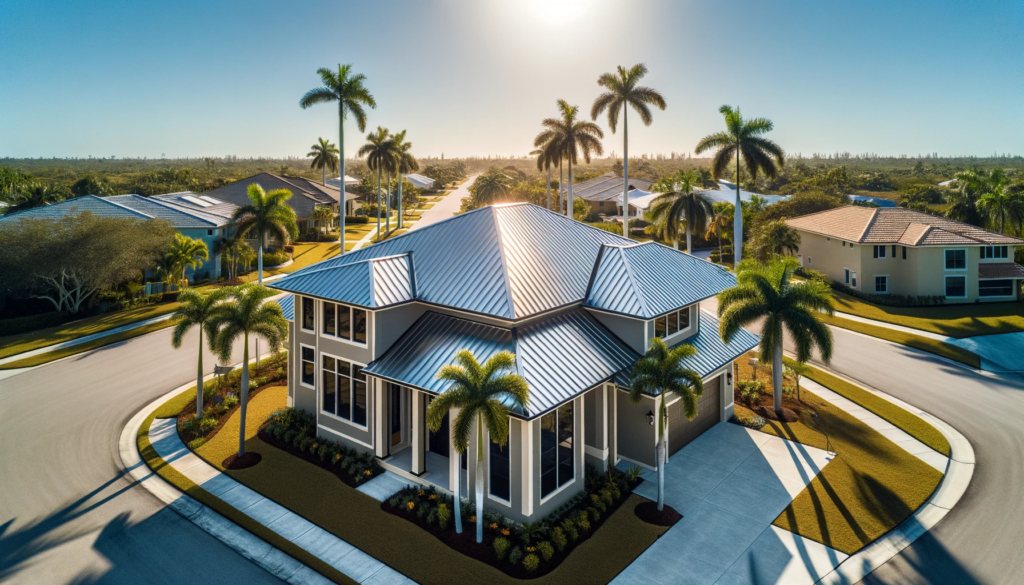
Need a Metal Roof Installation? Call Blitz Roofing & Construction Today!
Transform Your Home with Durable Elegance! Discover the unmatched resilience and style of a metal roof with Florida’s own Blitz Roofing & Construction. Our expert team ensures seamless installation, exceptional quality, and lasting results. Ready for a metal roof that withstands Florida’s unique climate?
Contact Blitz Roofing & Construction today and elevate your home’s protection and curb appeal!
Call us at 386-703-3303